


Intro
✒ WordPress is a free and open-source content management system written in PHP and paired with a MySQL or MariaDB database. It is used to build amazing looking websites in a short period of time due to its ease of use and some of its major features such as plugins and templates. But one must connect a database to WordPress for maintaining all the site's data.
✒ Amazon Relational Database Service (Amazon RDS) is a web service that makes it easier to set up, operate, and scale a relational database in the AWS Cloud. It provides cost-efficient, resizable capacity for an industry-standard relational database and manages common database administration tasks. It is a fully managed database service provided by Amazon.
✒ With Amazon RDS we can use different kinds of database products such as MySQL, MariaDB, PostgreSQL etc...
✒ In this blog, we will see how to integrate WordPress with Amazon RDS
Outline
✔ Setting up a MySQL server using Amazon RDS
✔ Launch an EC2 Instance with Apache web server and WordPress setup
✔ Configure WordPress
Implementation
Setting up a MySQL server using Amazon RDS
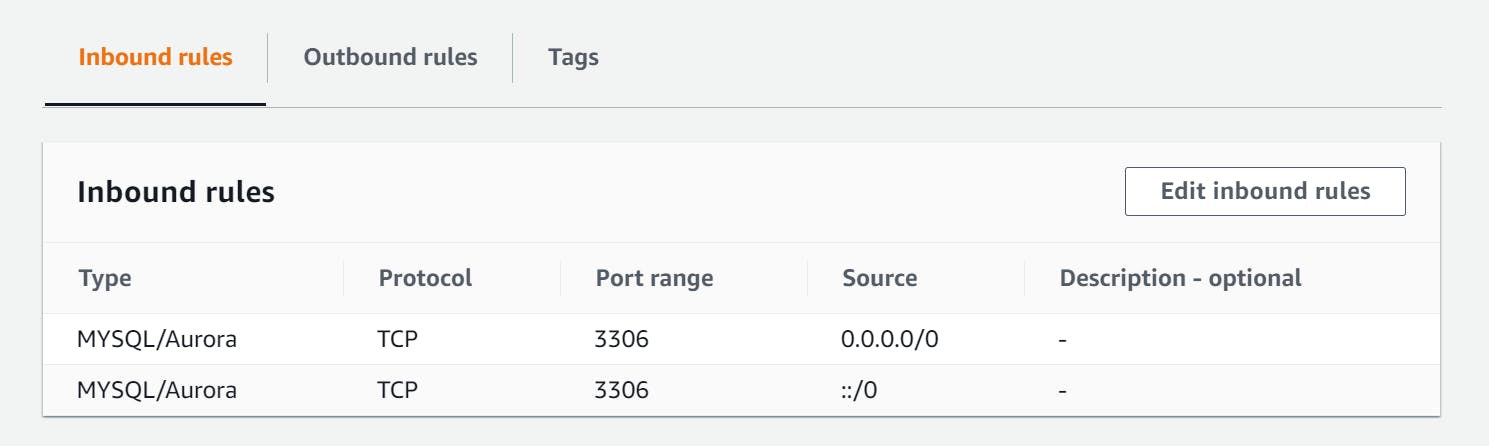
✒ Configure a Security Group with the below Inbound rules (we will use this later for the database instance)
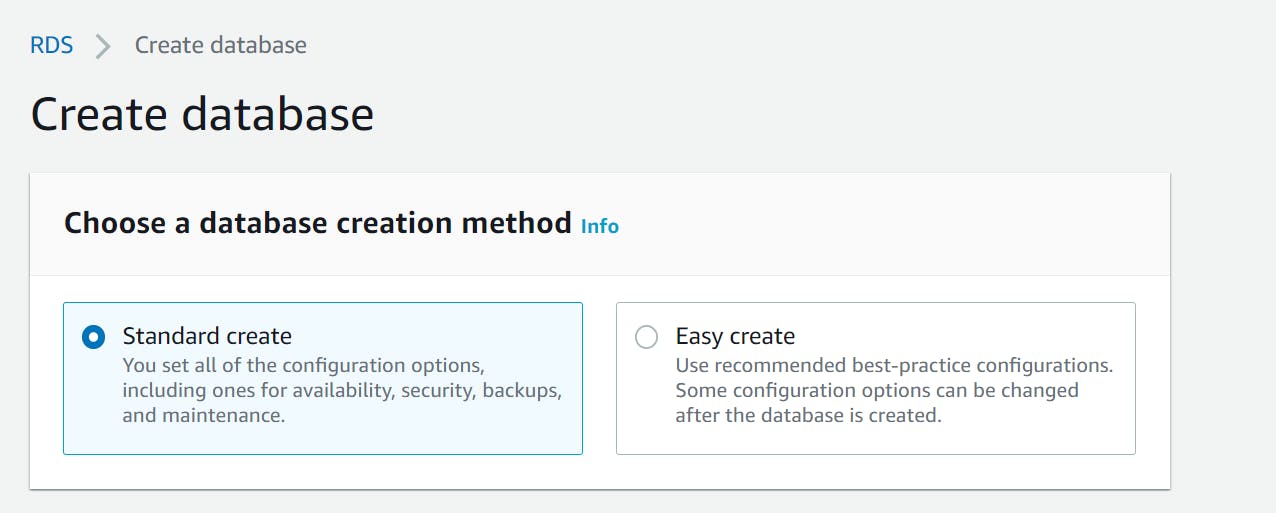
✒ Go to the Databases tab under Amazon RDS service in the AWS console and click on create a database

✒ Choose the standard create:
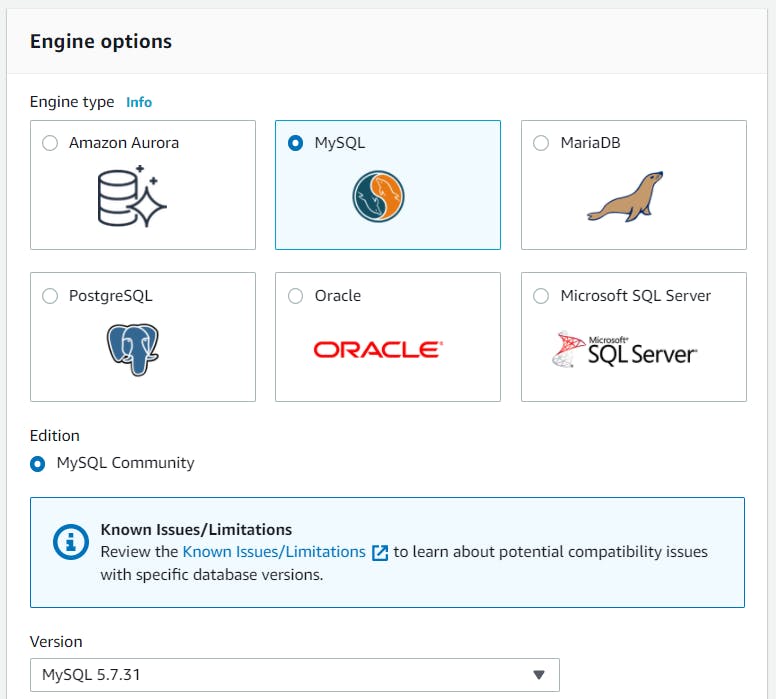
✒ Choose a DB engine and a version (I'll be using MySQL - 5.7.31 as it is already tested for WordPress)
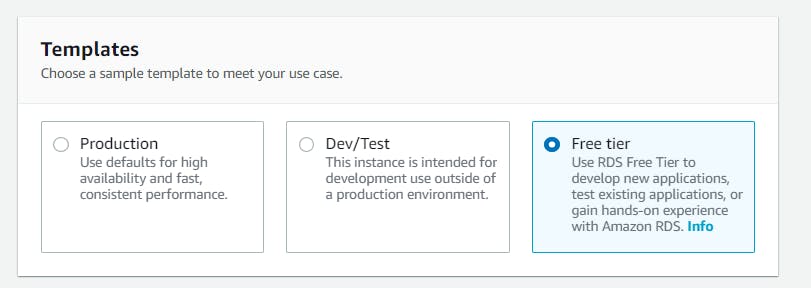
✒ Choose the free tier template for testing.
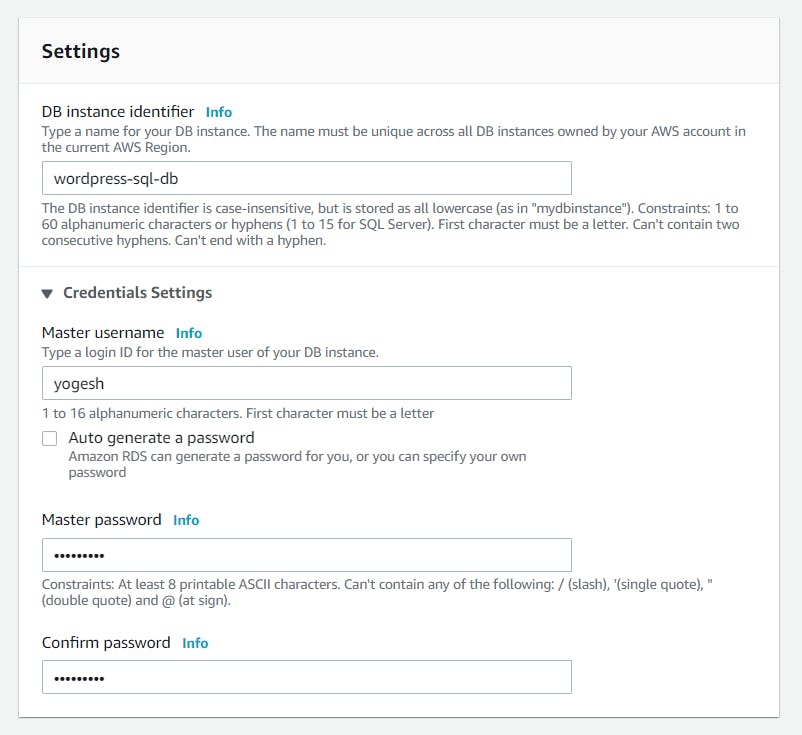
✒ In the settings assign a name for the database instance and credentials for the database
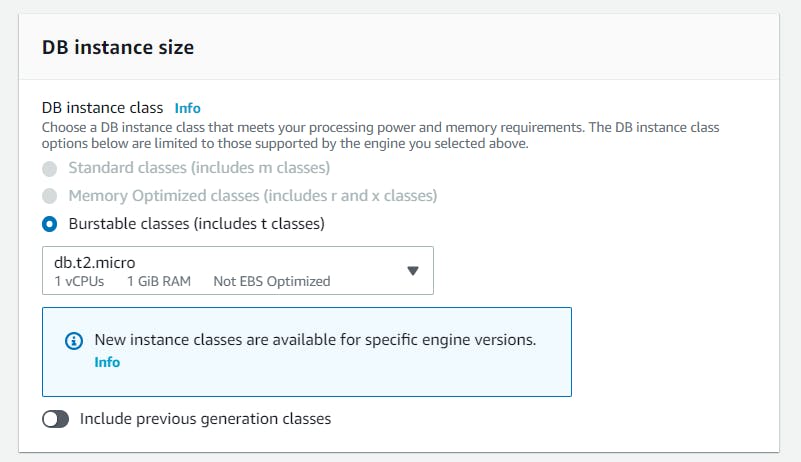
✒ In the instance family type db.t2.micro is the only type which is available for the free tier.
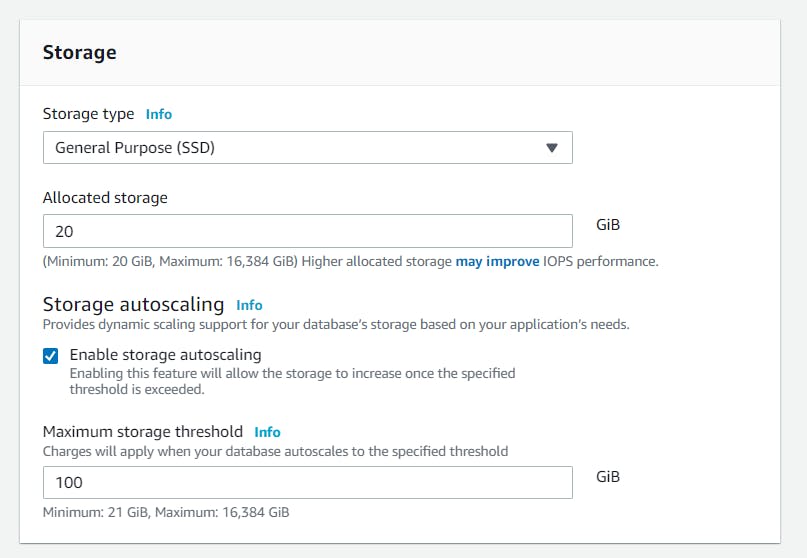
✒ Set the storage of the instance/EBS, for testing purposes the following will be enough:
✒ Next comes the connectivity of Instance i.e., where do you want to launch the instance. Choose a VPC, Subnet, whether should it be publicly accessible or not, Security group(Attach the previously created Security Group) and finally AZ.
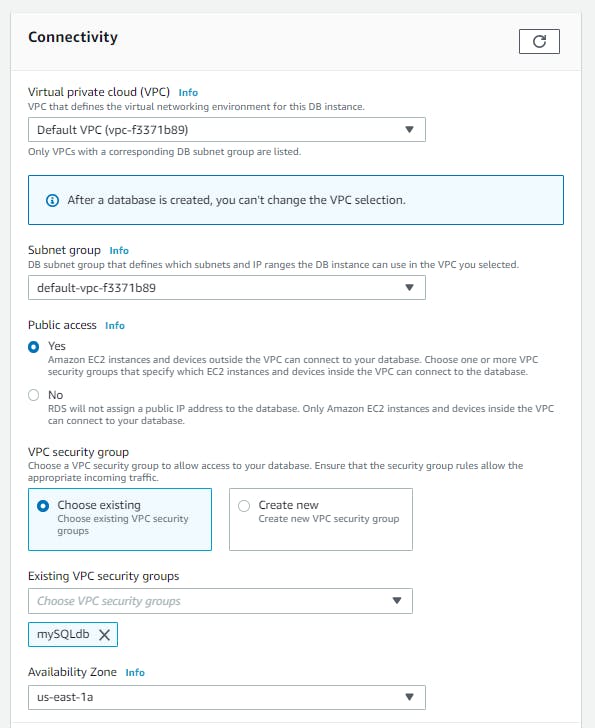
✒ In Database Options give the initial database name as "wordpress" and click on create a database which will then launch your database instance.
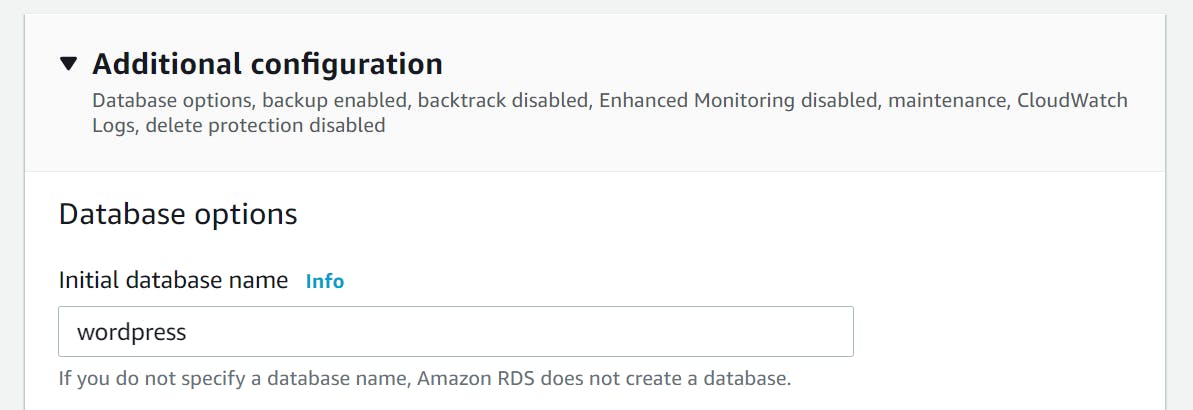
✒ There are some other configurations as well such as backup and delete protection which I'm going to leave as it is.
✒ It will take some time to launch the database instance
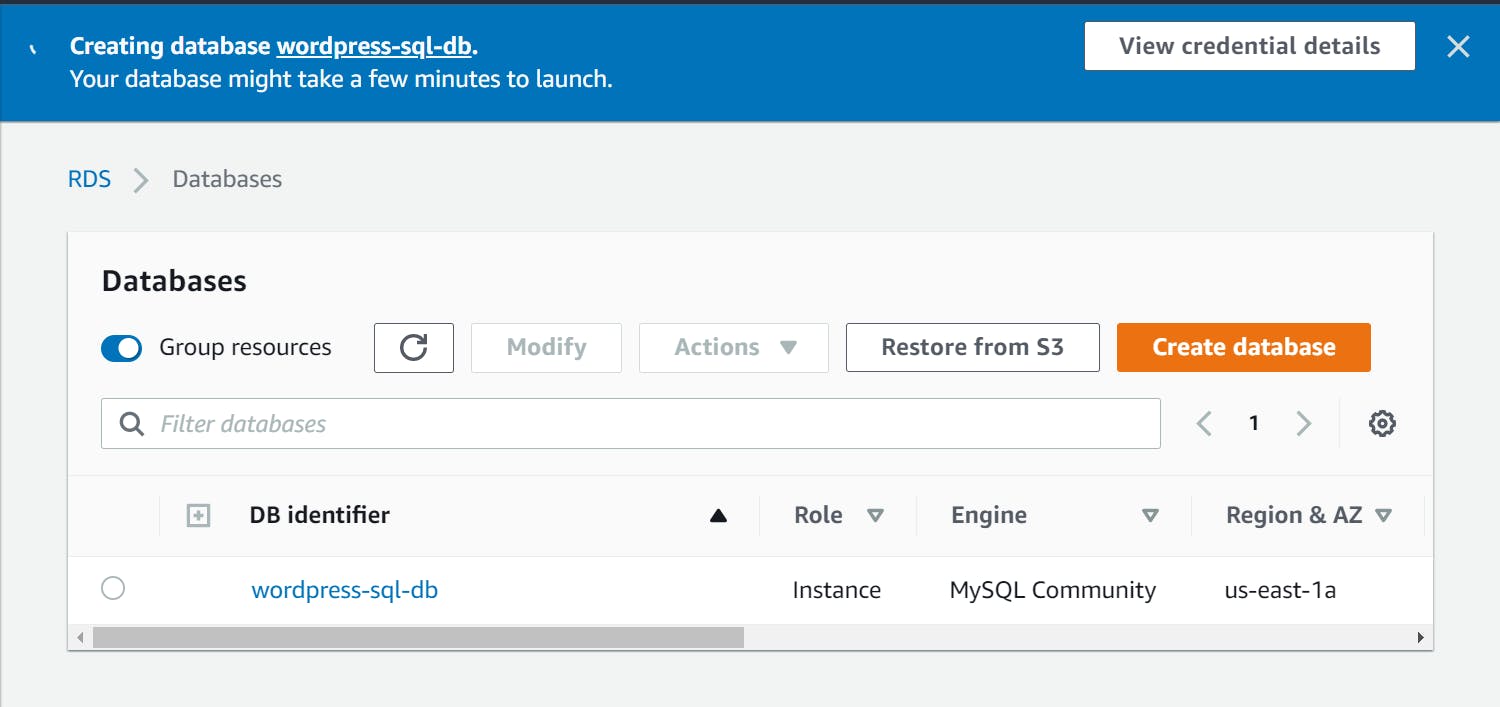
✒ After the RDS is ready, note the endpoint (we will use this endpoint while setting up WordPress)

Launch an EC2 Instance with Apache web server and WordPress setup
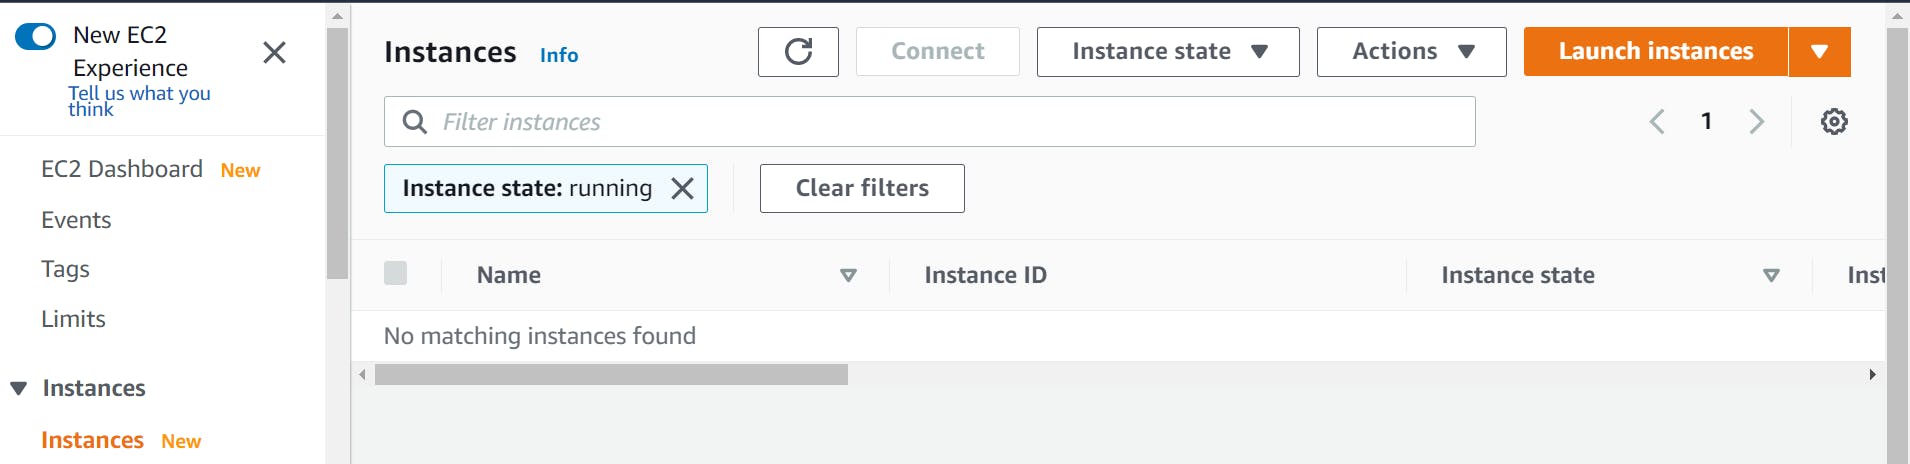
✒ Go to the Instances tab under Amazon EC2 service in the AWS console and click on launch an Instance
✒ I will be going with the RHEL 8 AMI

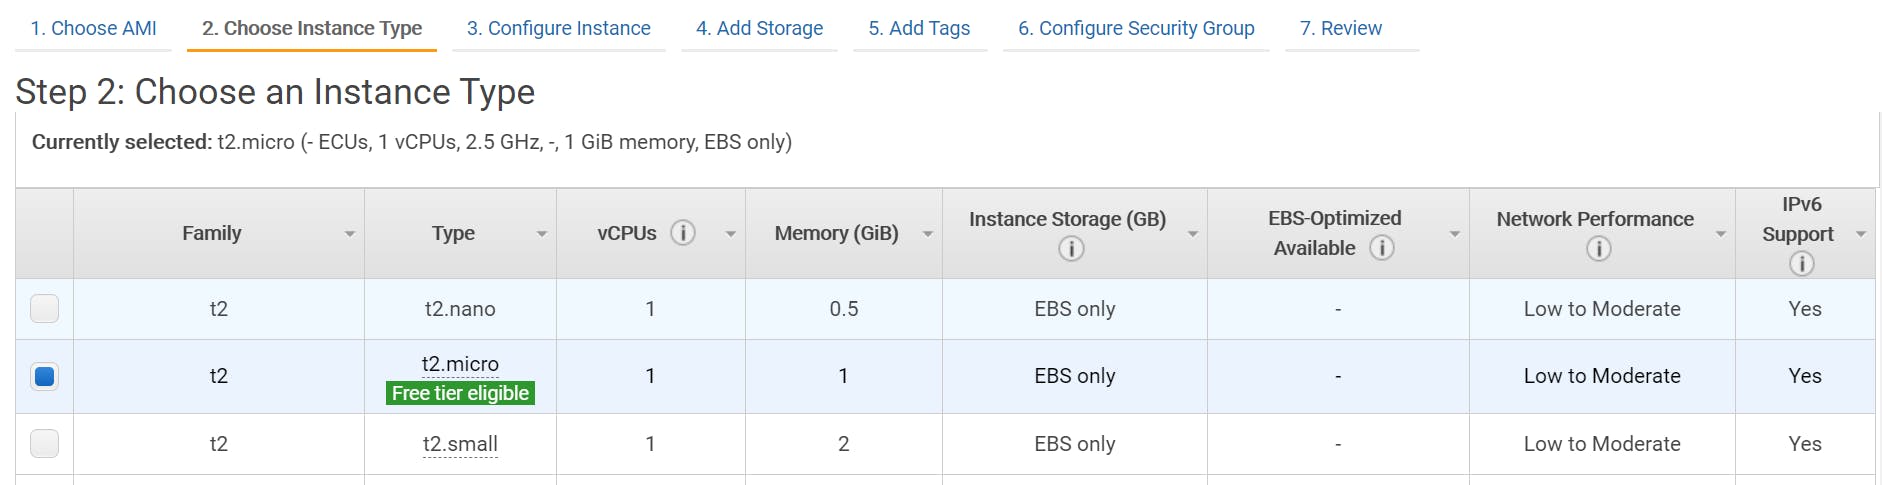
✒ Now choose t2.micro instance (this will be sufficient for the demo)
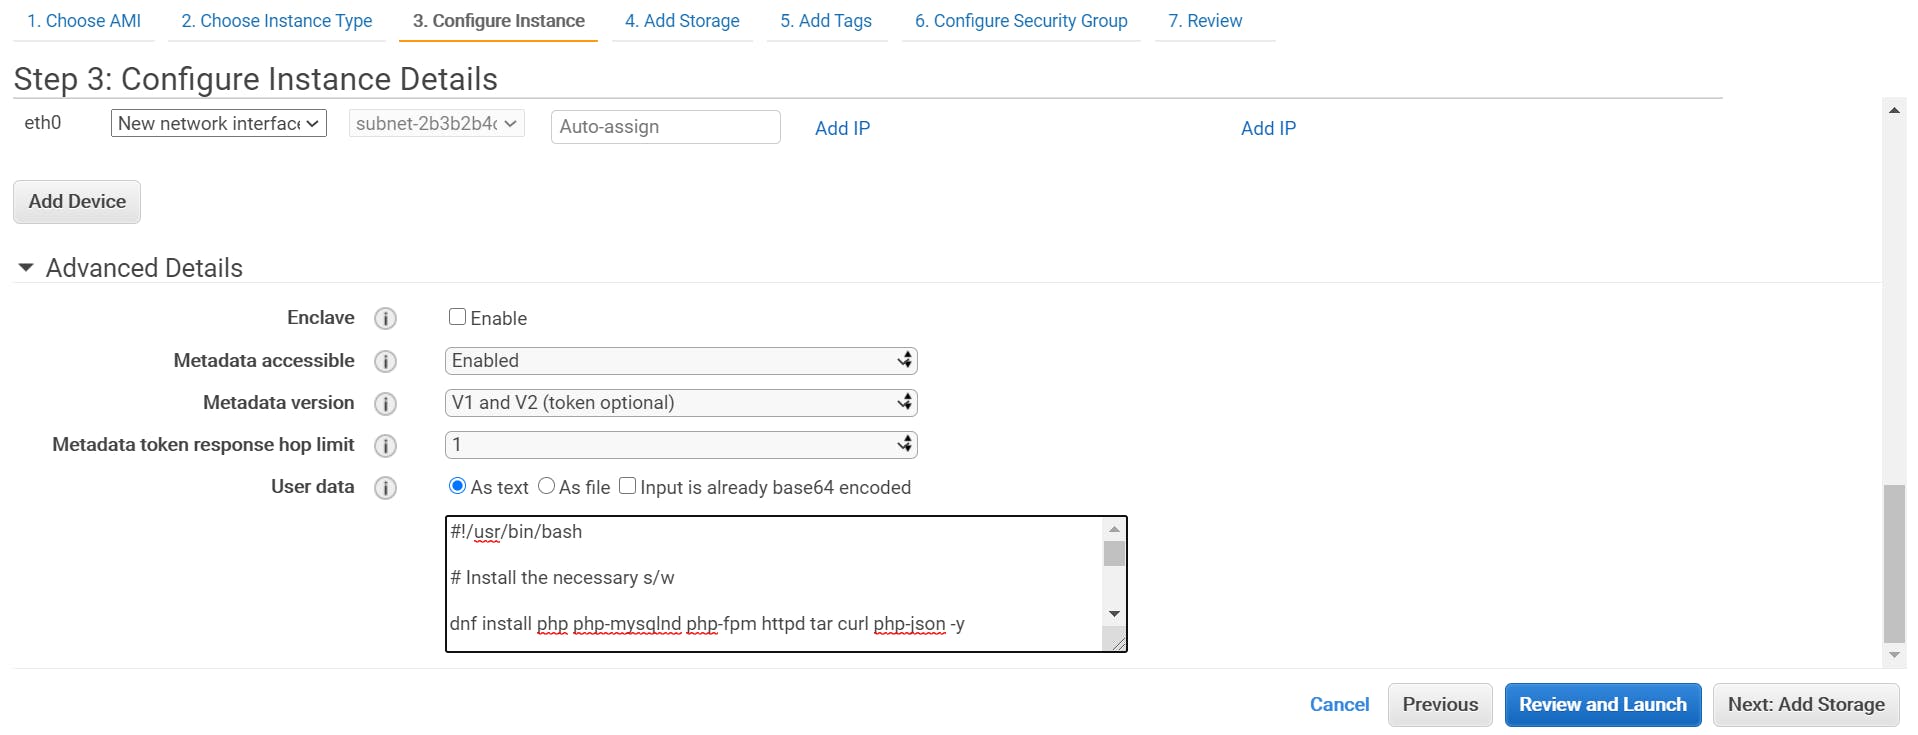
✒ Now add the following user data (Essentially a script which executes while the Instace boots up)
#!/usr/bin/bash

# Install the necessary s/w

dnf install php php-mysqlnd php-fpm httpd tar curl php-json -y

# Download and setup WordPress

curl https://wordpress.org/latest.tar.gz --output wordpress.tar.gz
tar xf wordpress.tar.gz
cp -r wordpress/* /var/www/html/

# Give necessary permissions

setenforce 0
chown -R apache:apache /var/www/html/wordpress
chcon -t httpd_sys_rw_content_t /var/www/html/wordpress -R

# Start and enable webserver

systemctl start httpd
systemctl enable httpd
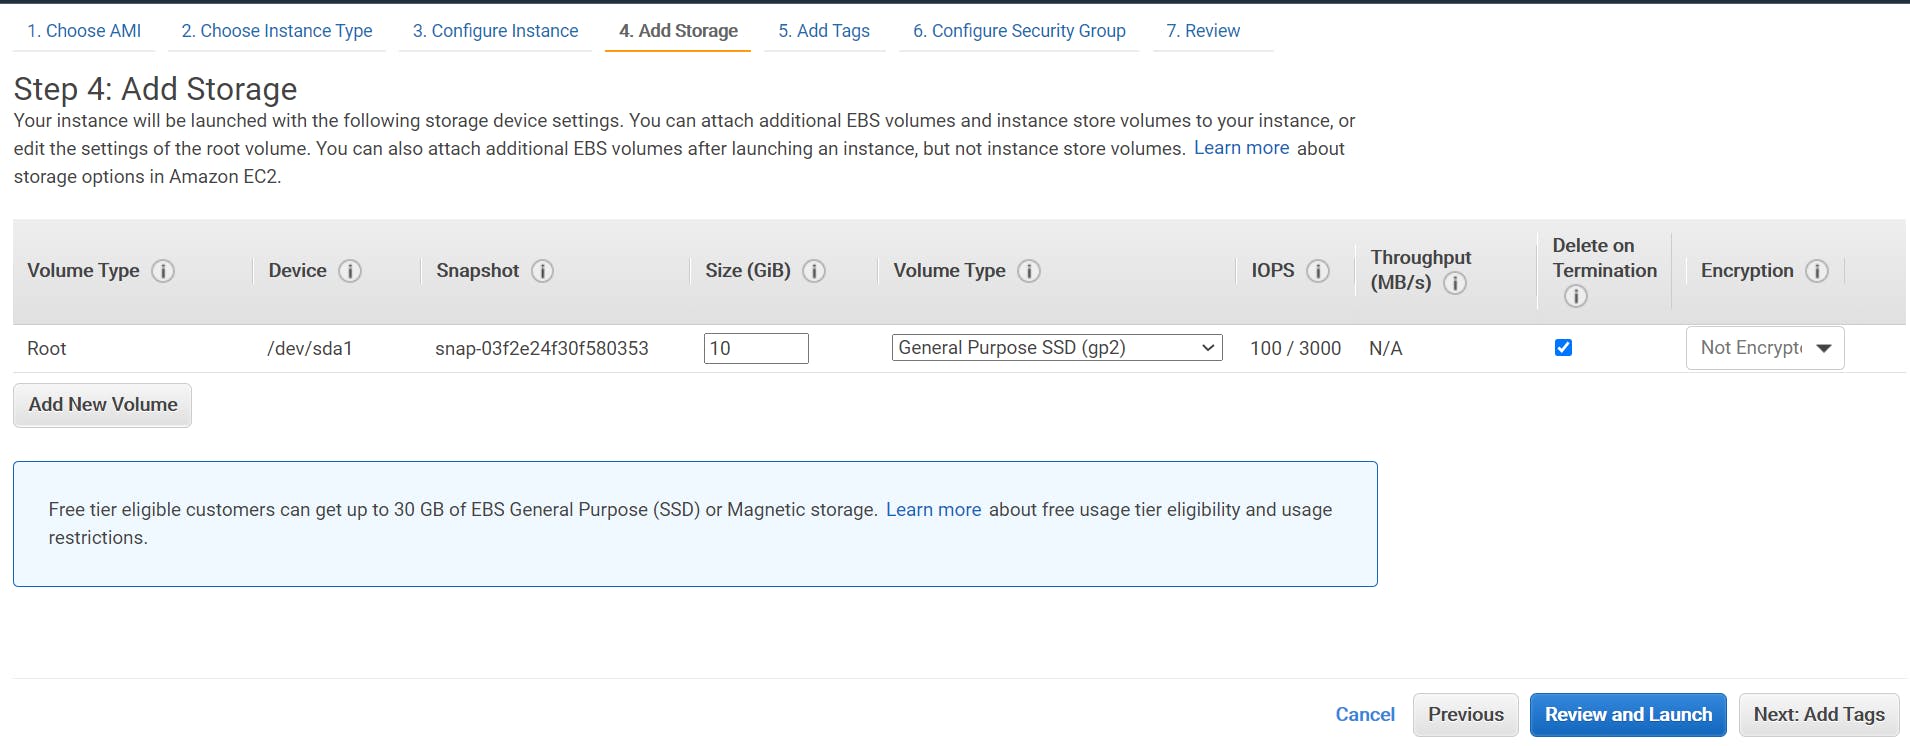
✒ Leave the default configurations for storage as it is and proceed further
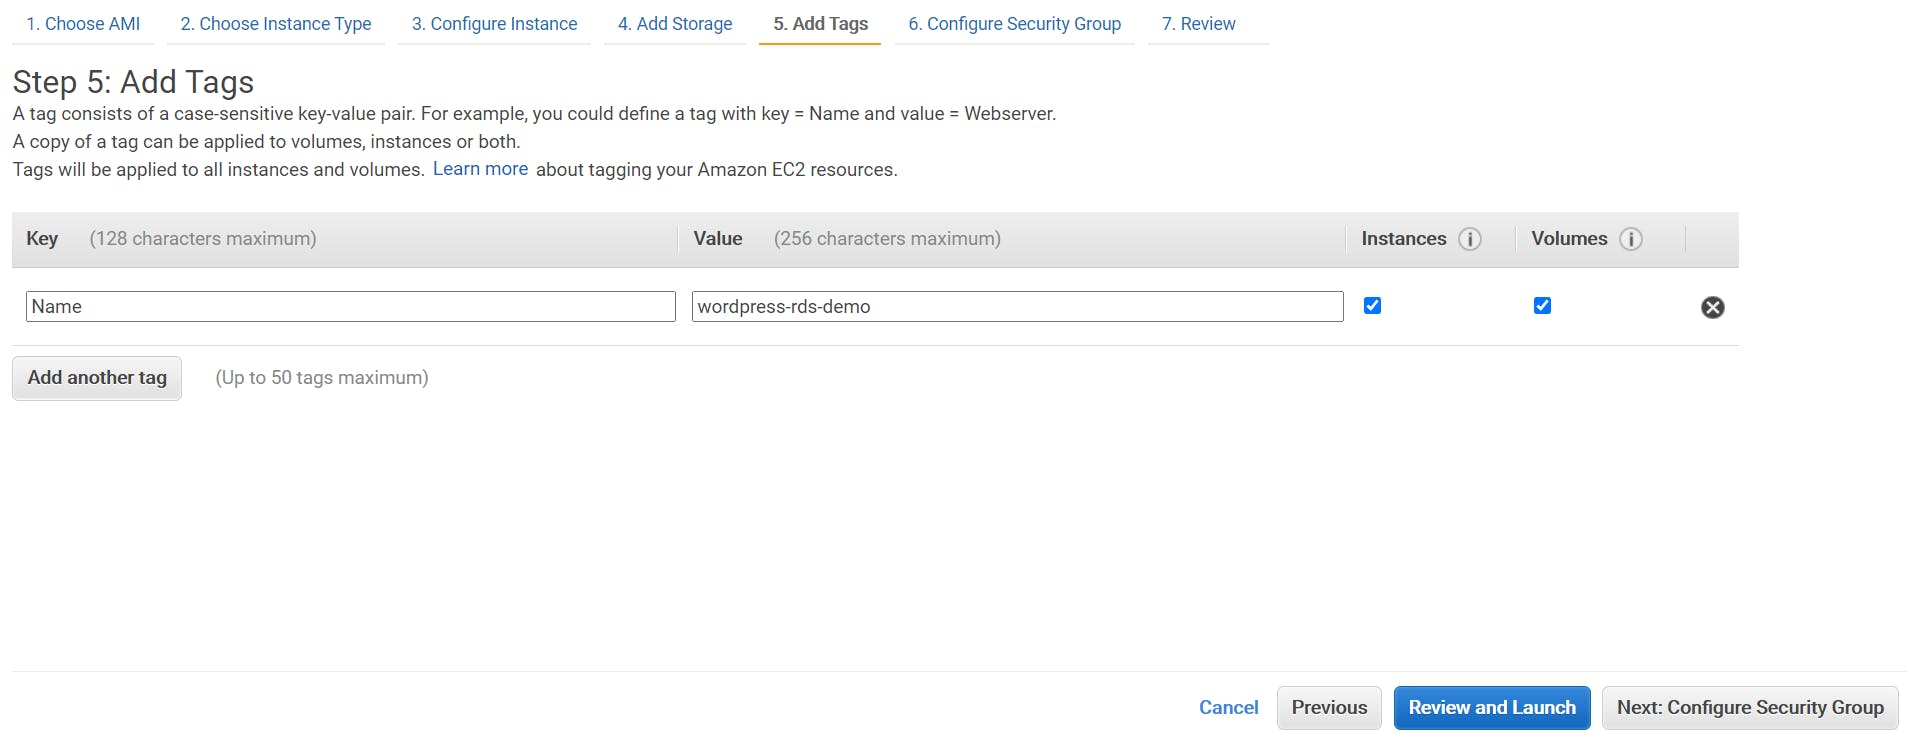
✒ Create a name tag and assign it a value(for management purposes)
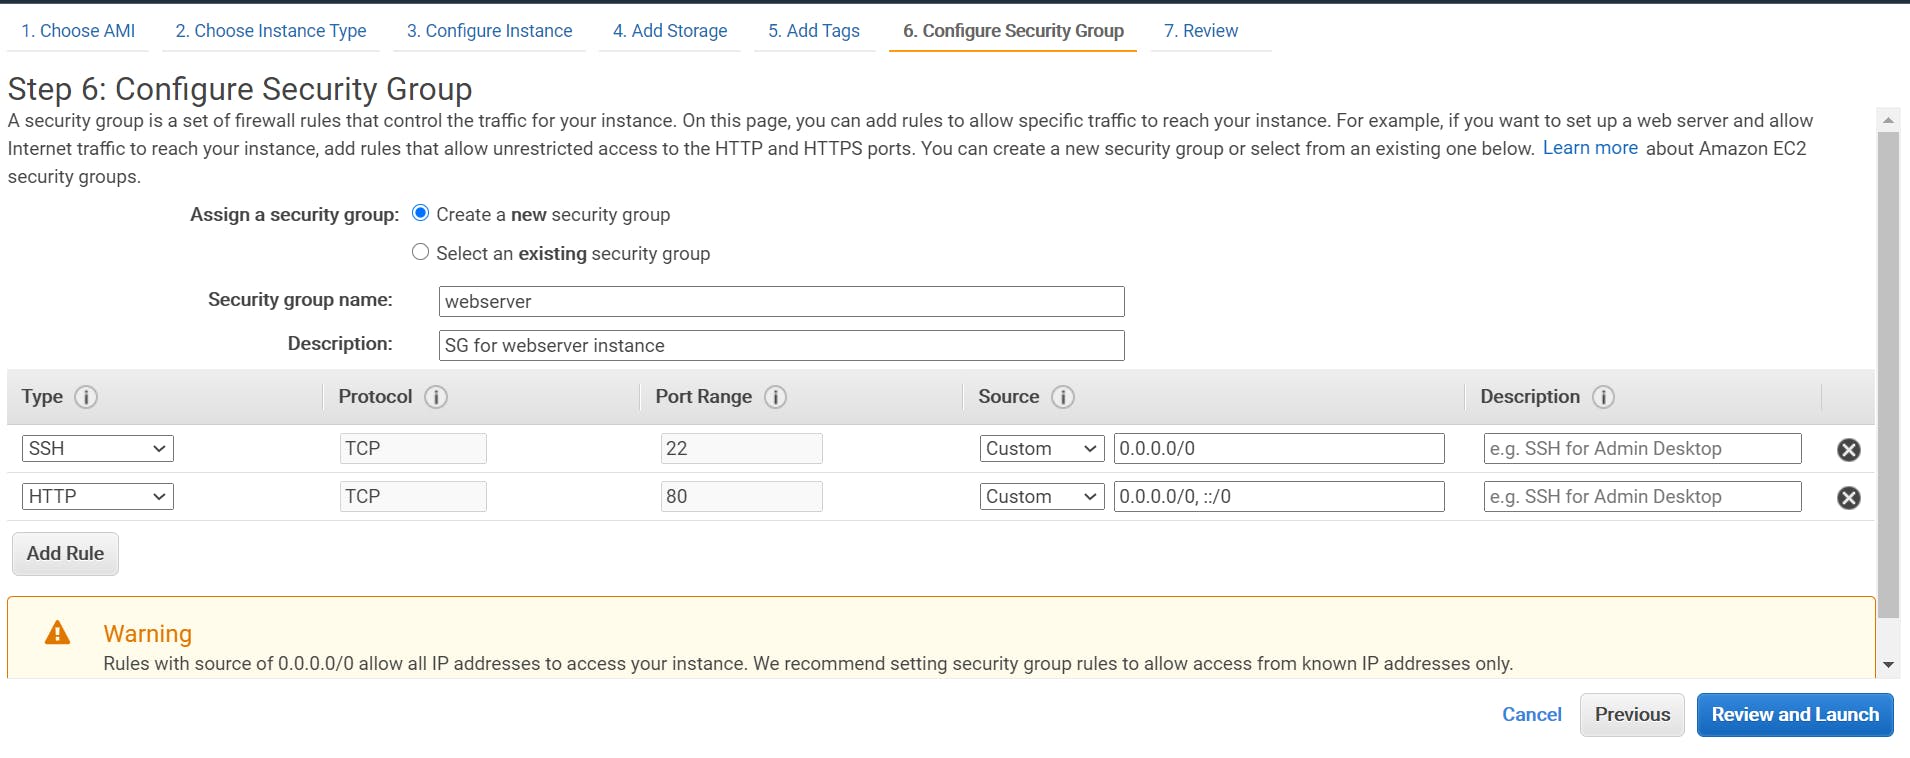
✒ Create a Security Group with the following Inbound rules for webserver -
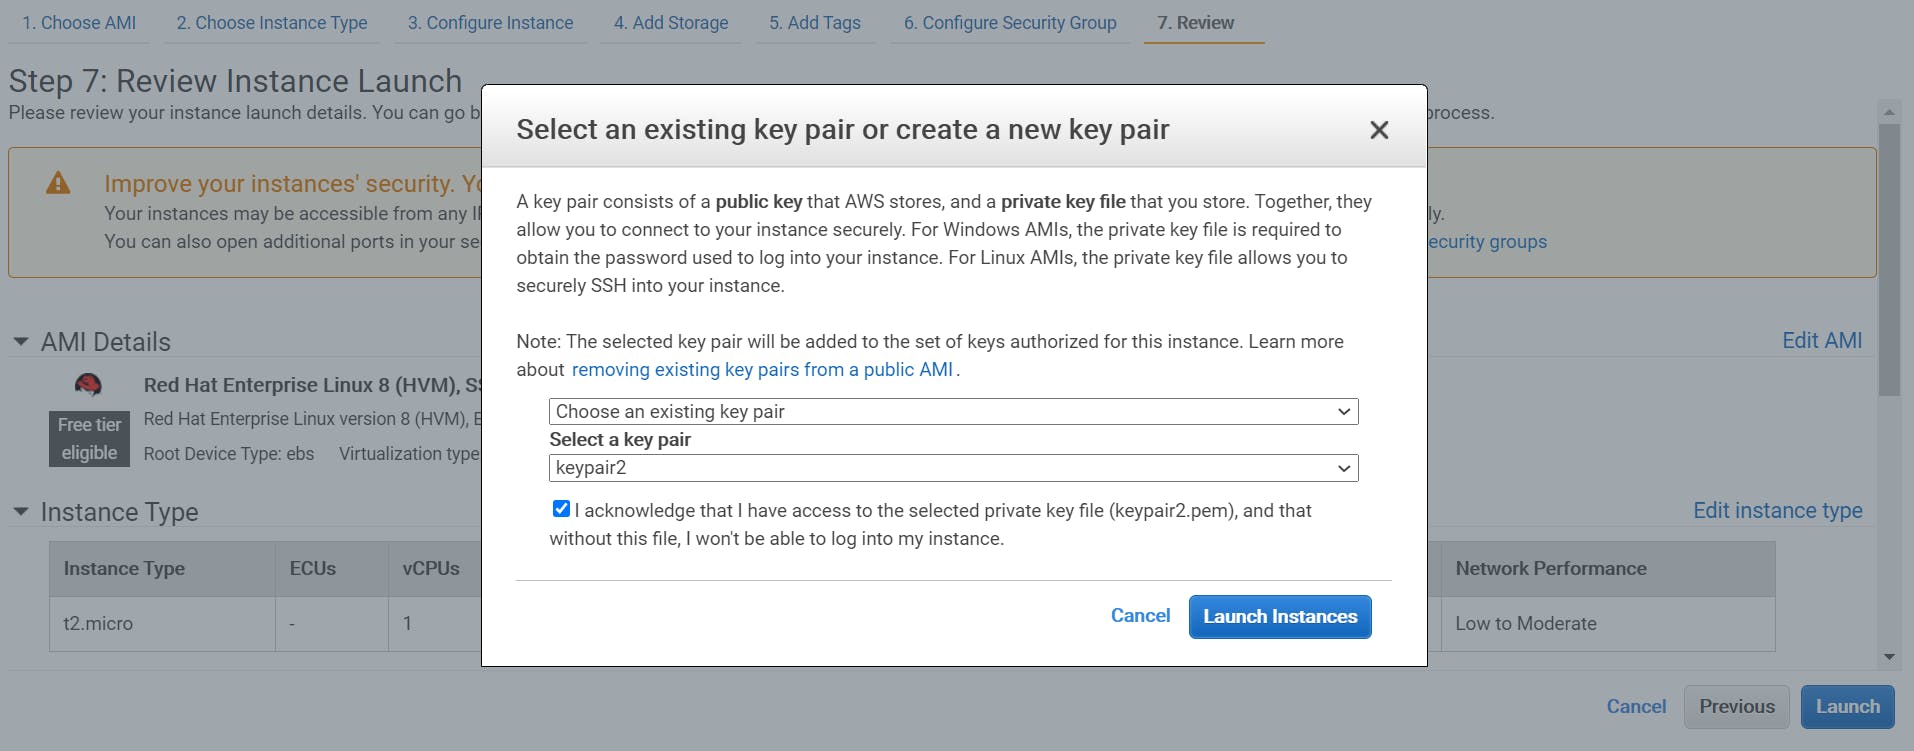
✒ Choose a KeyPair and launch the Instance
✒ If you get something like this:
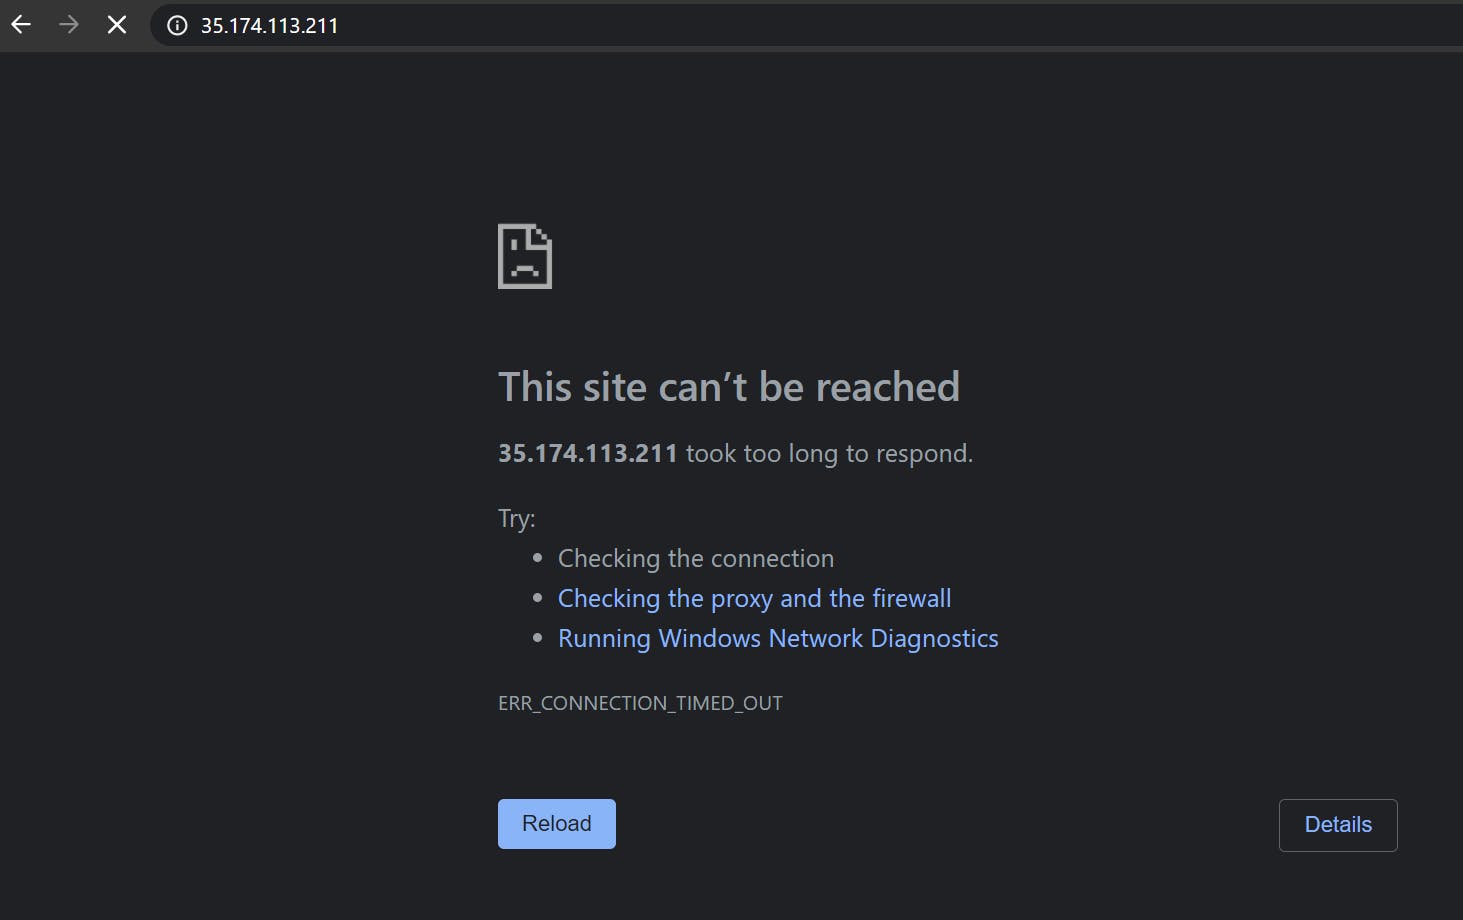
Then you are probably using https protocol or there is a problem in Security Group. To resolve the former issue all we need to do is to give the complete URL i.e., "http://"
Configure WordPress
✒ After this you will be redirected to:
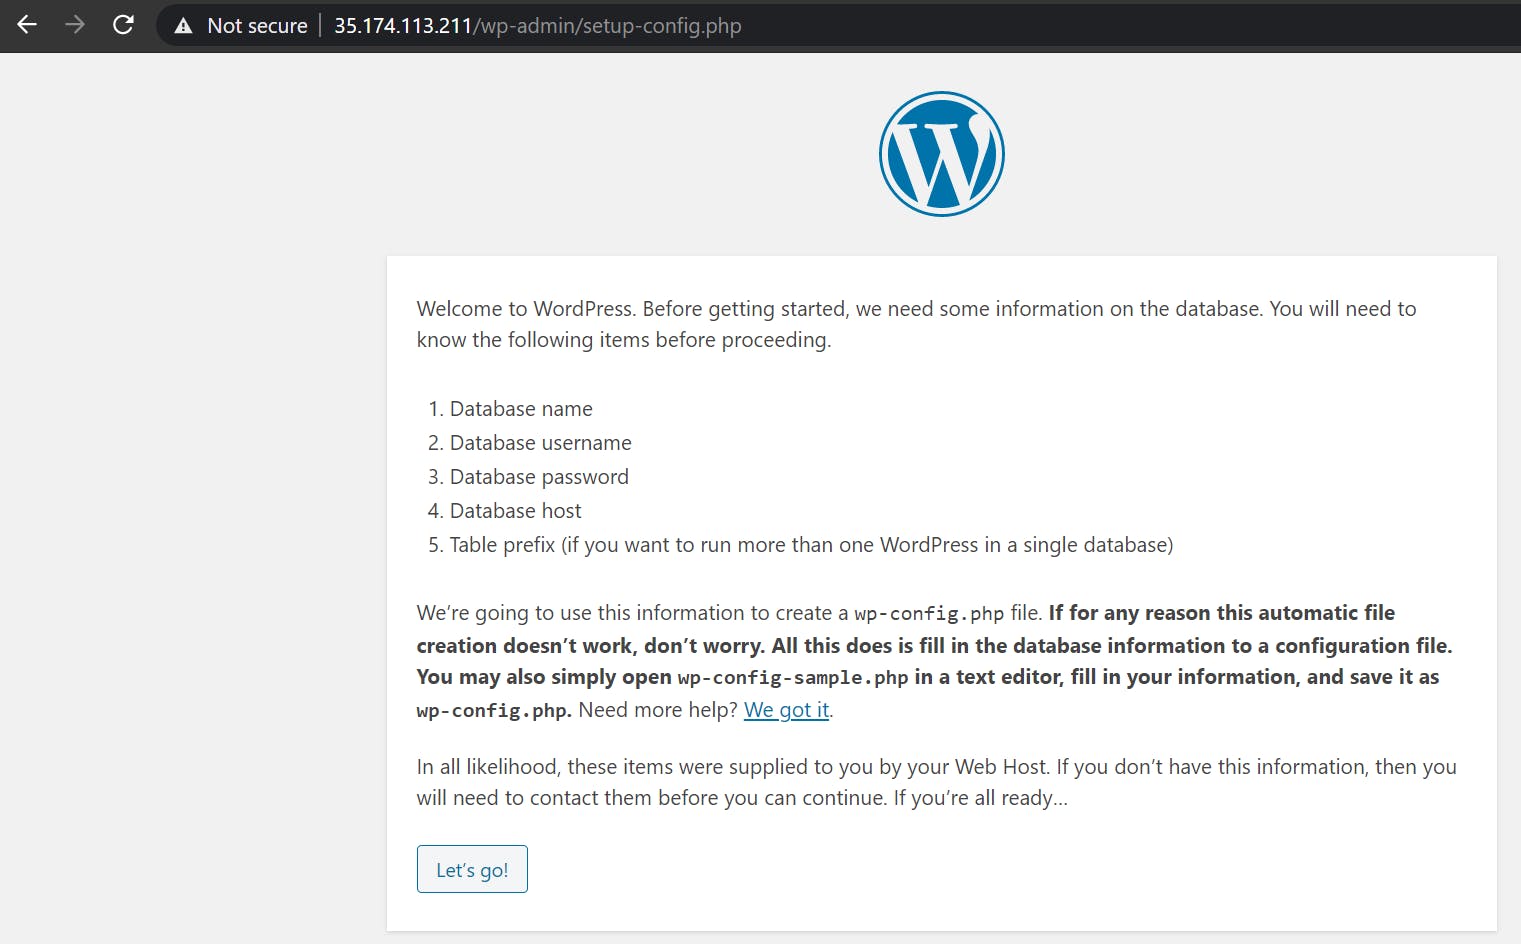
Click on Let's go
✒ Then give your database credentials which you have assigned while creating database using Amazon RDS service:
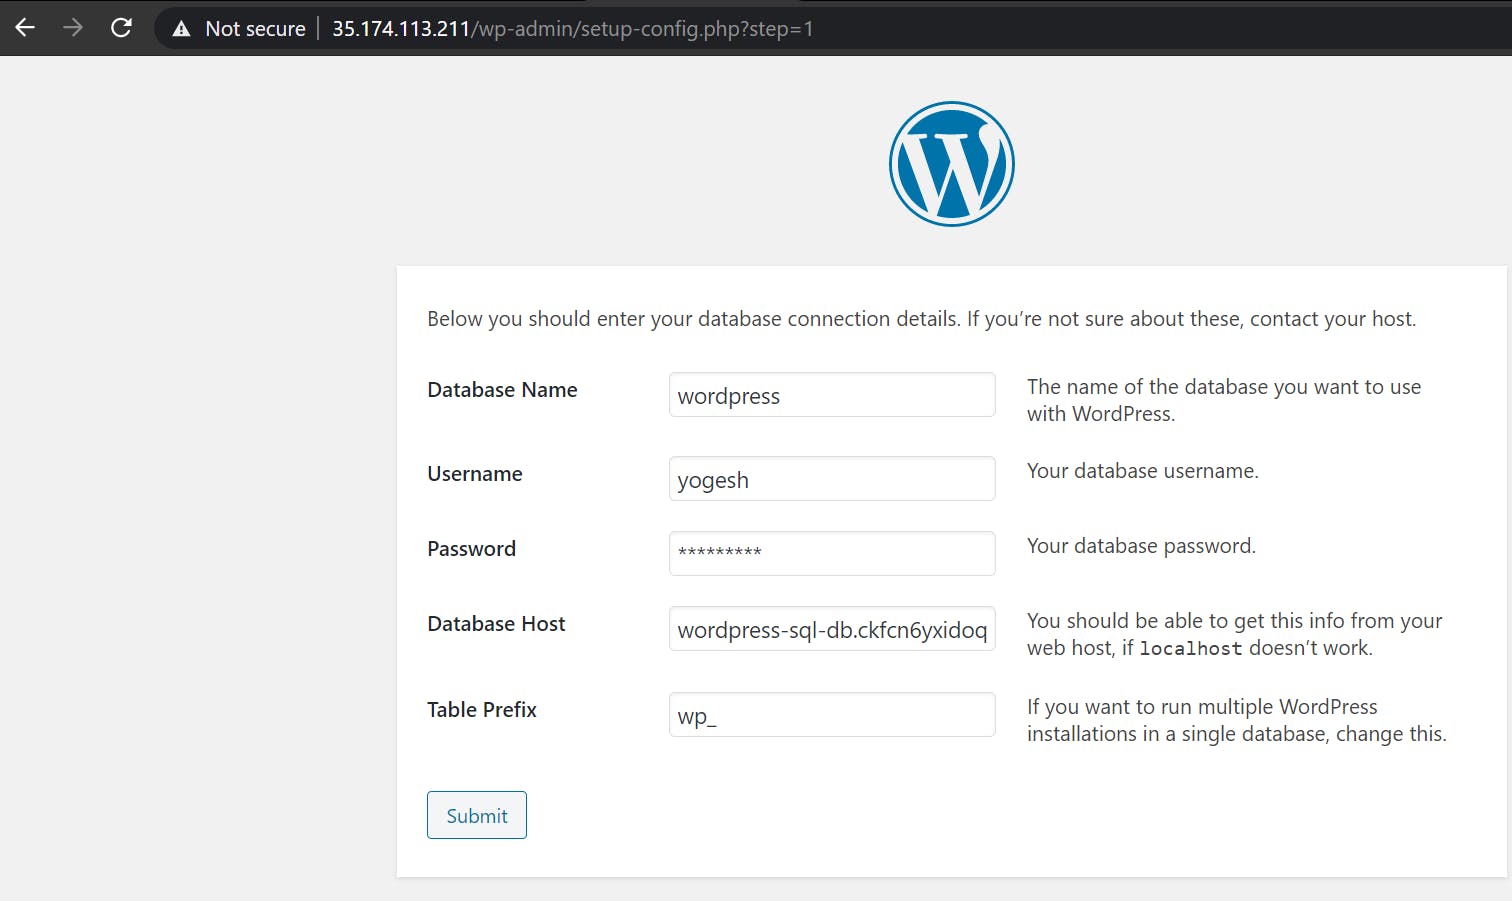
✒ Click on Run Installation:

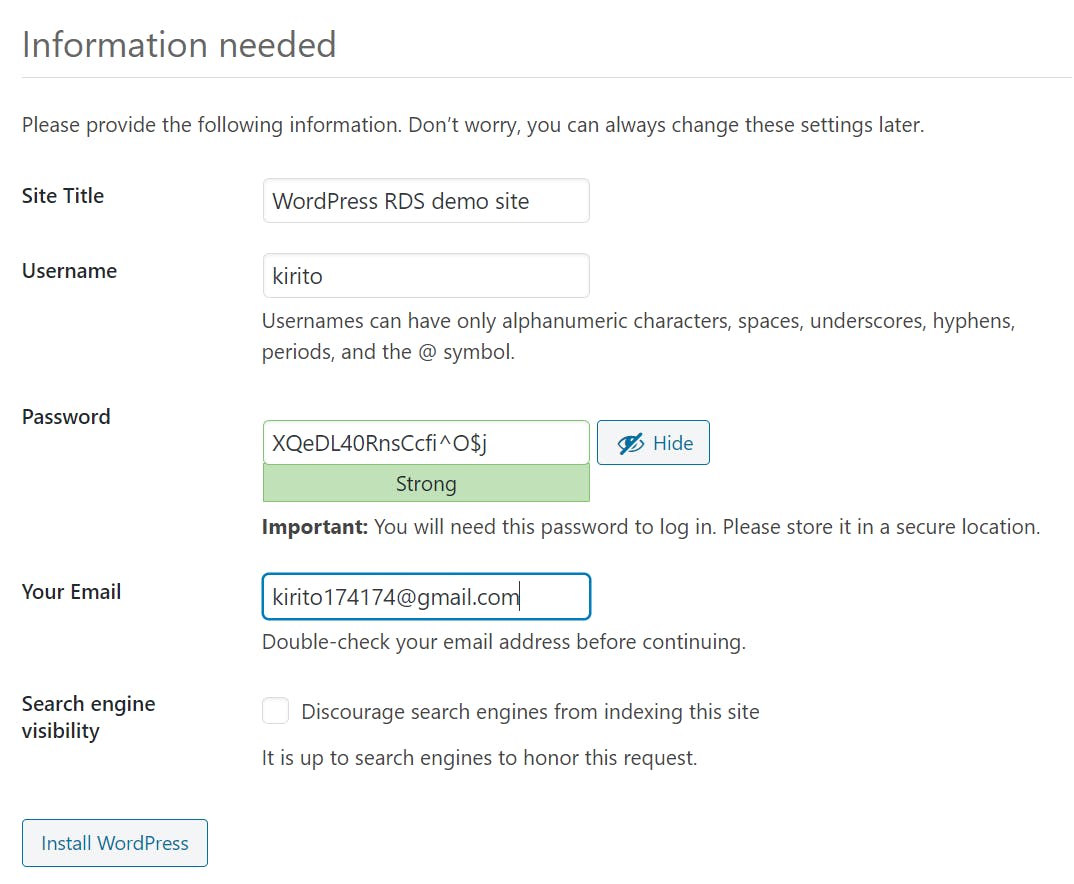
✒ Then set the credentials for the WordPress website and click on Install WordPress:
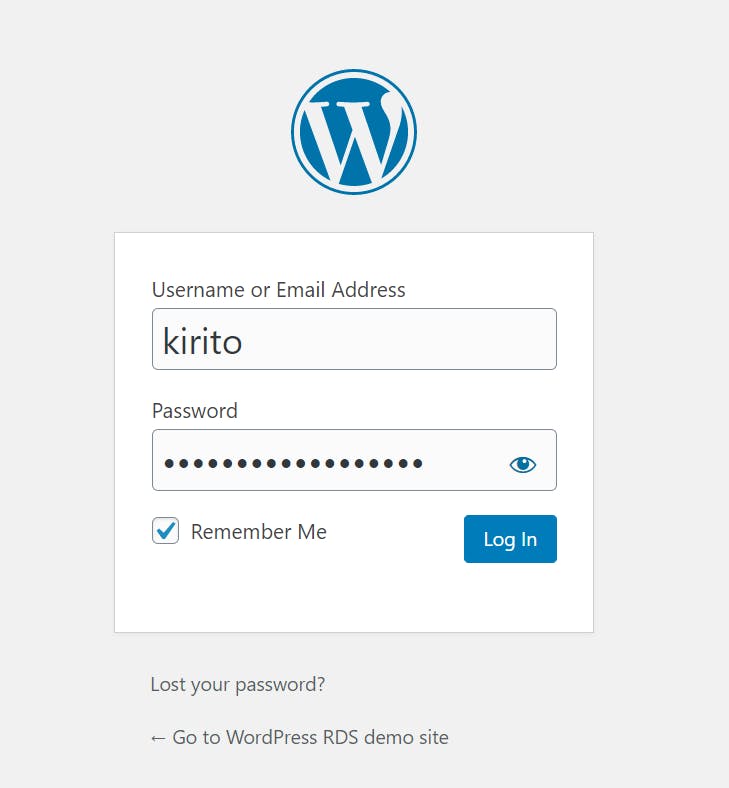
✒ Then login using the credentials that you've set in the previous step:
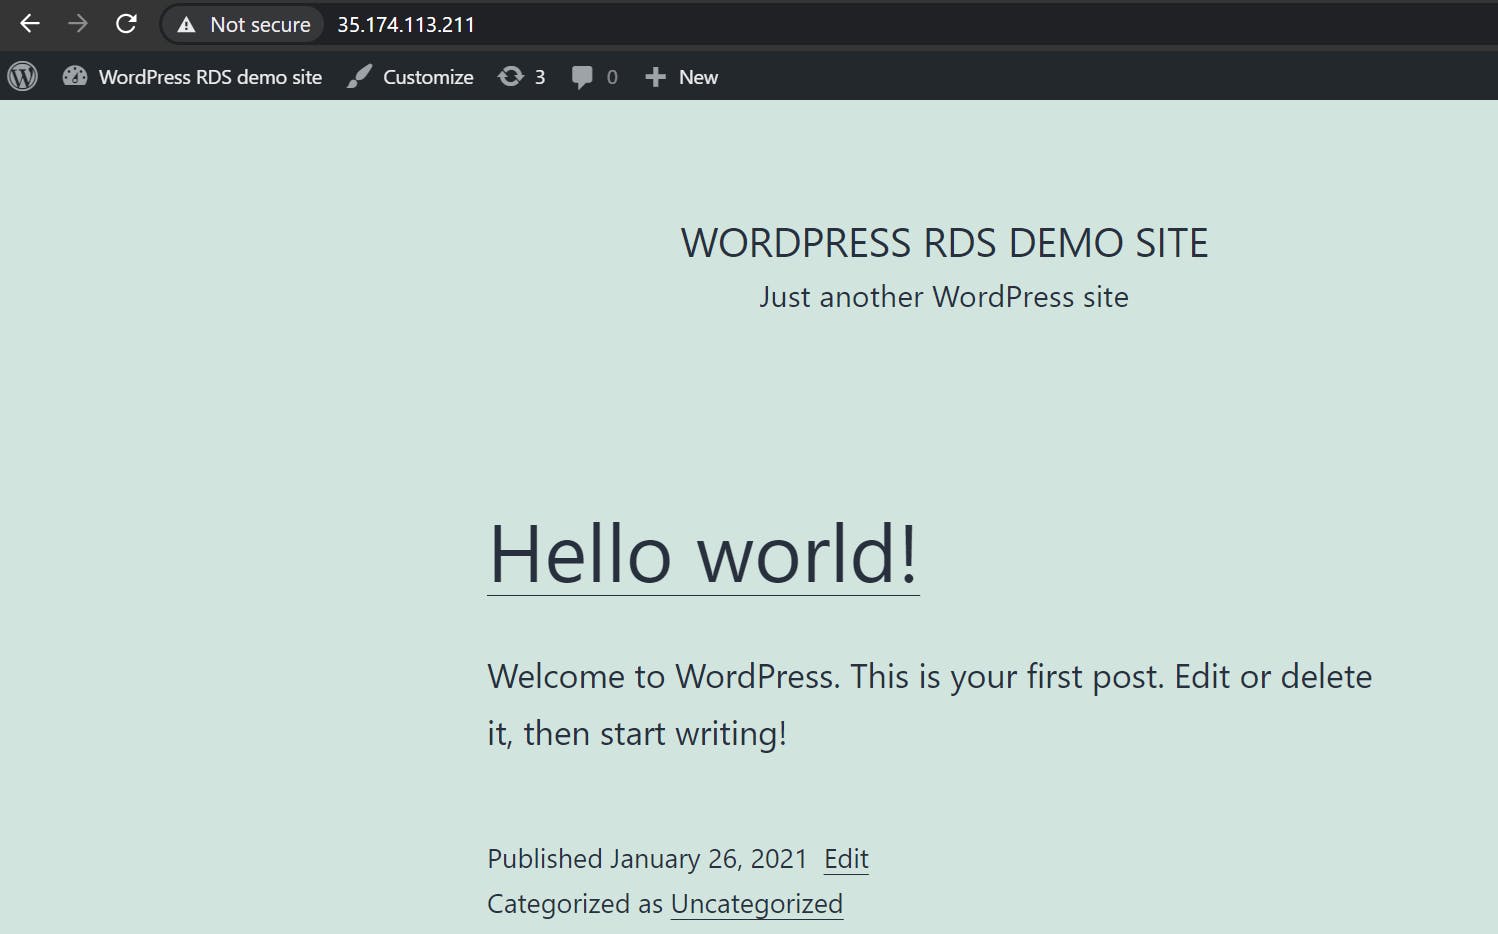
✒ Customize the website according to your requirements:

✒ Viola we now have our WordPress site up and running with RDS database service!
Thank You!